Building a home - part 2 - It ain’t easy but we got there
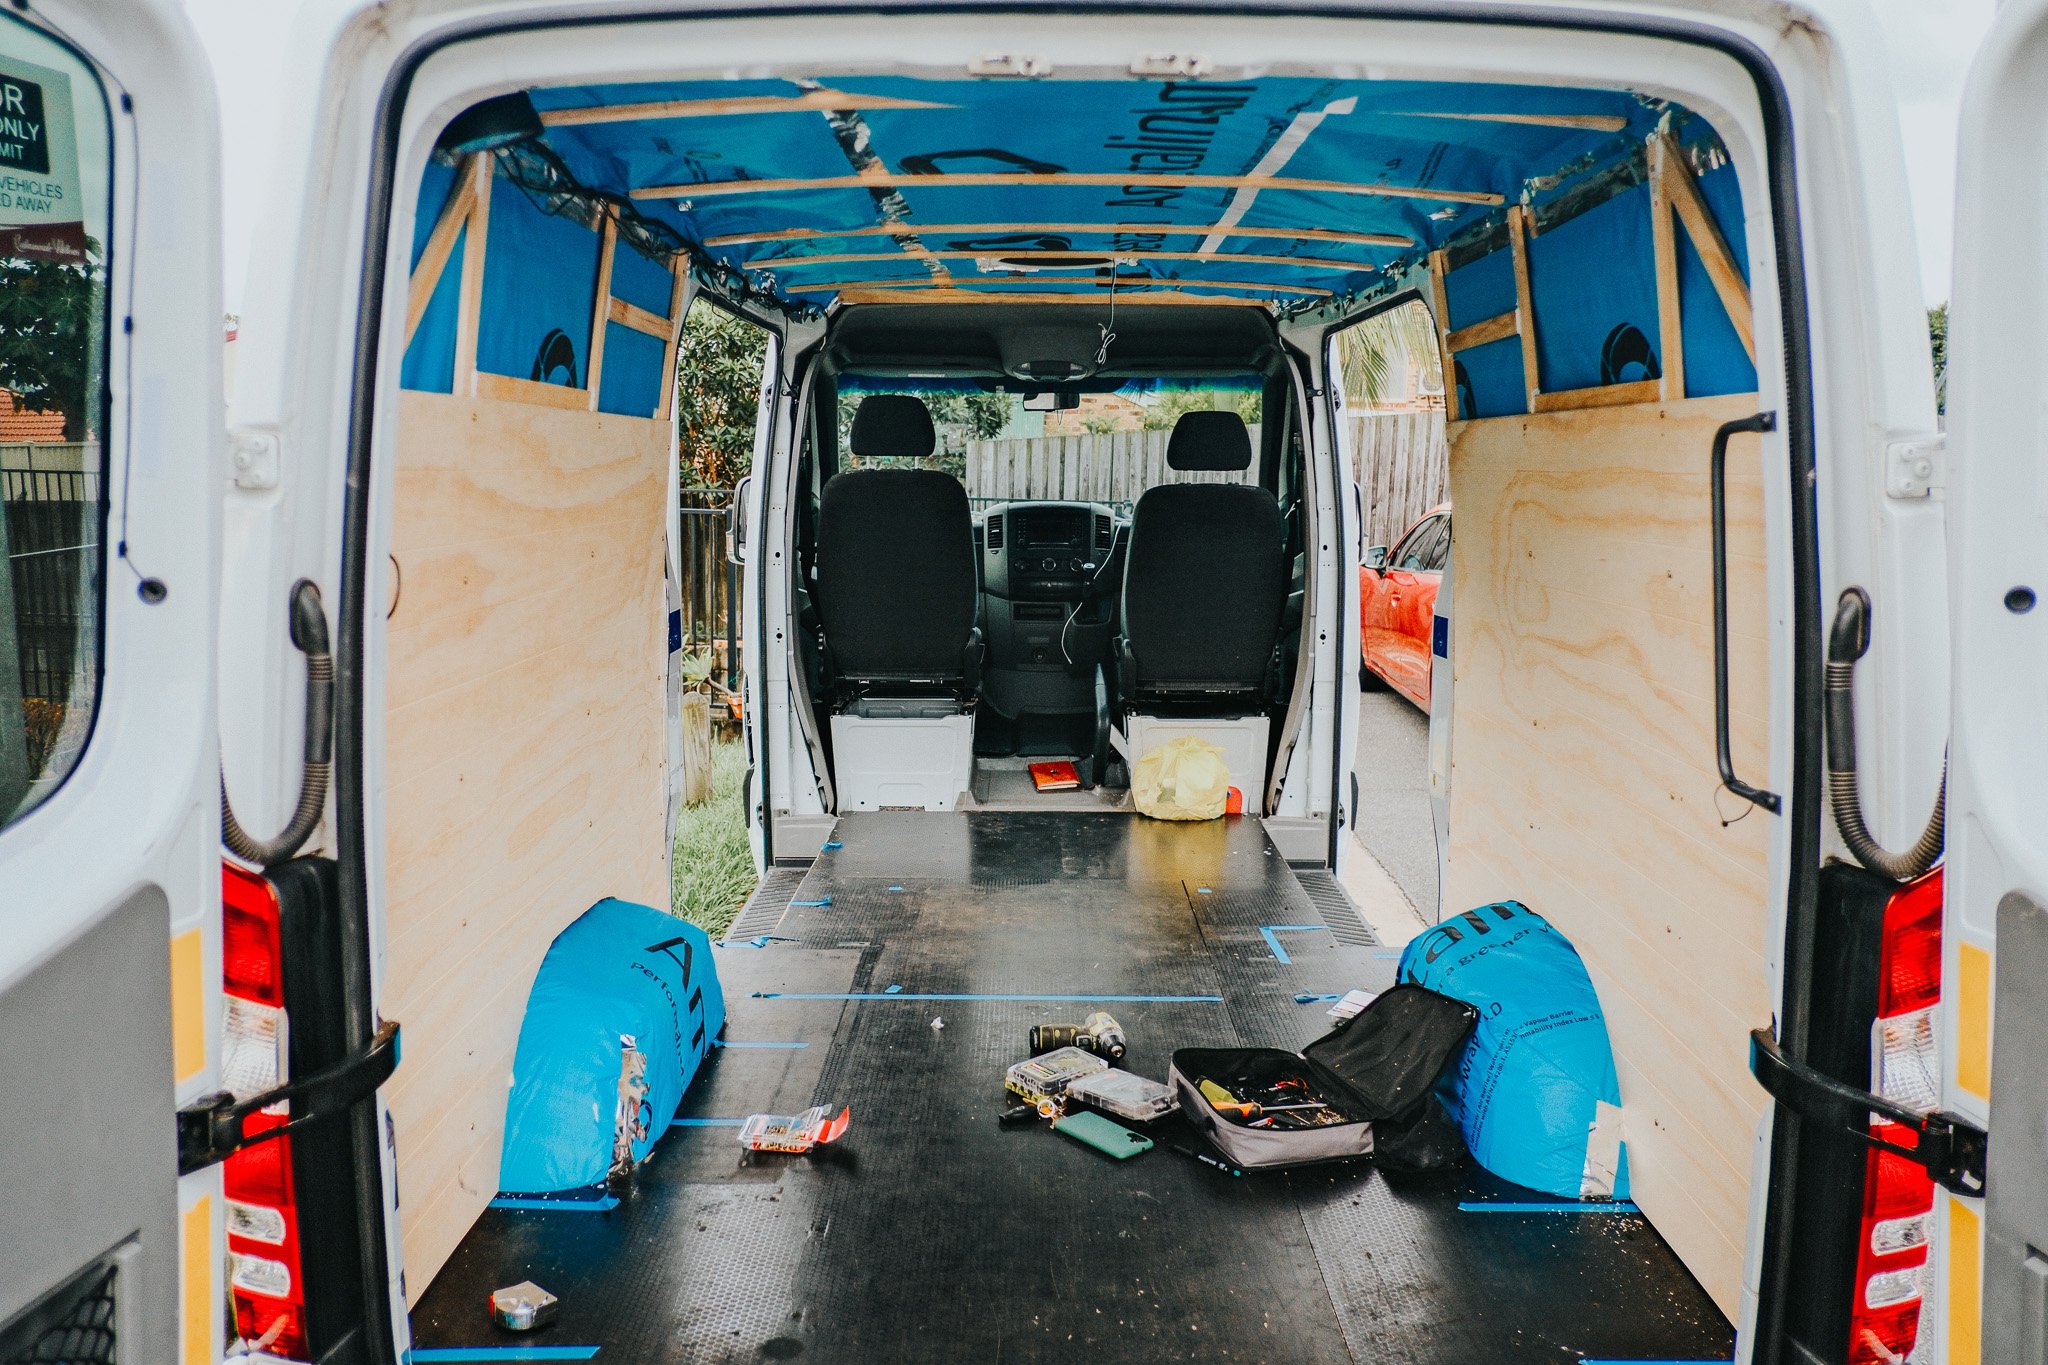
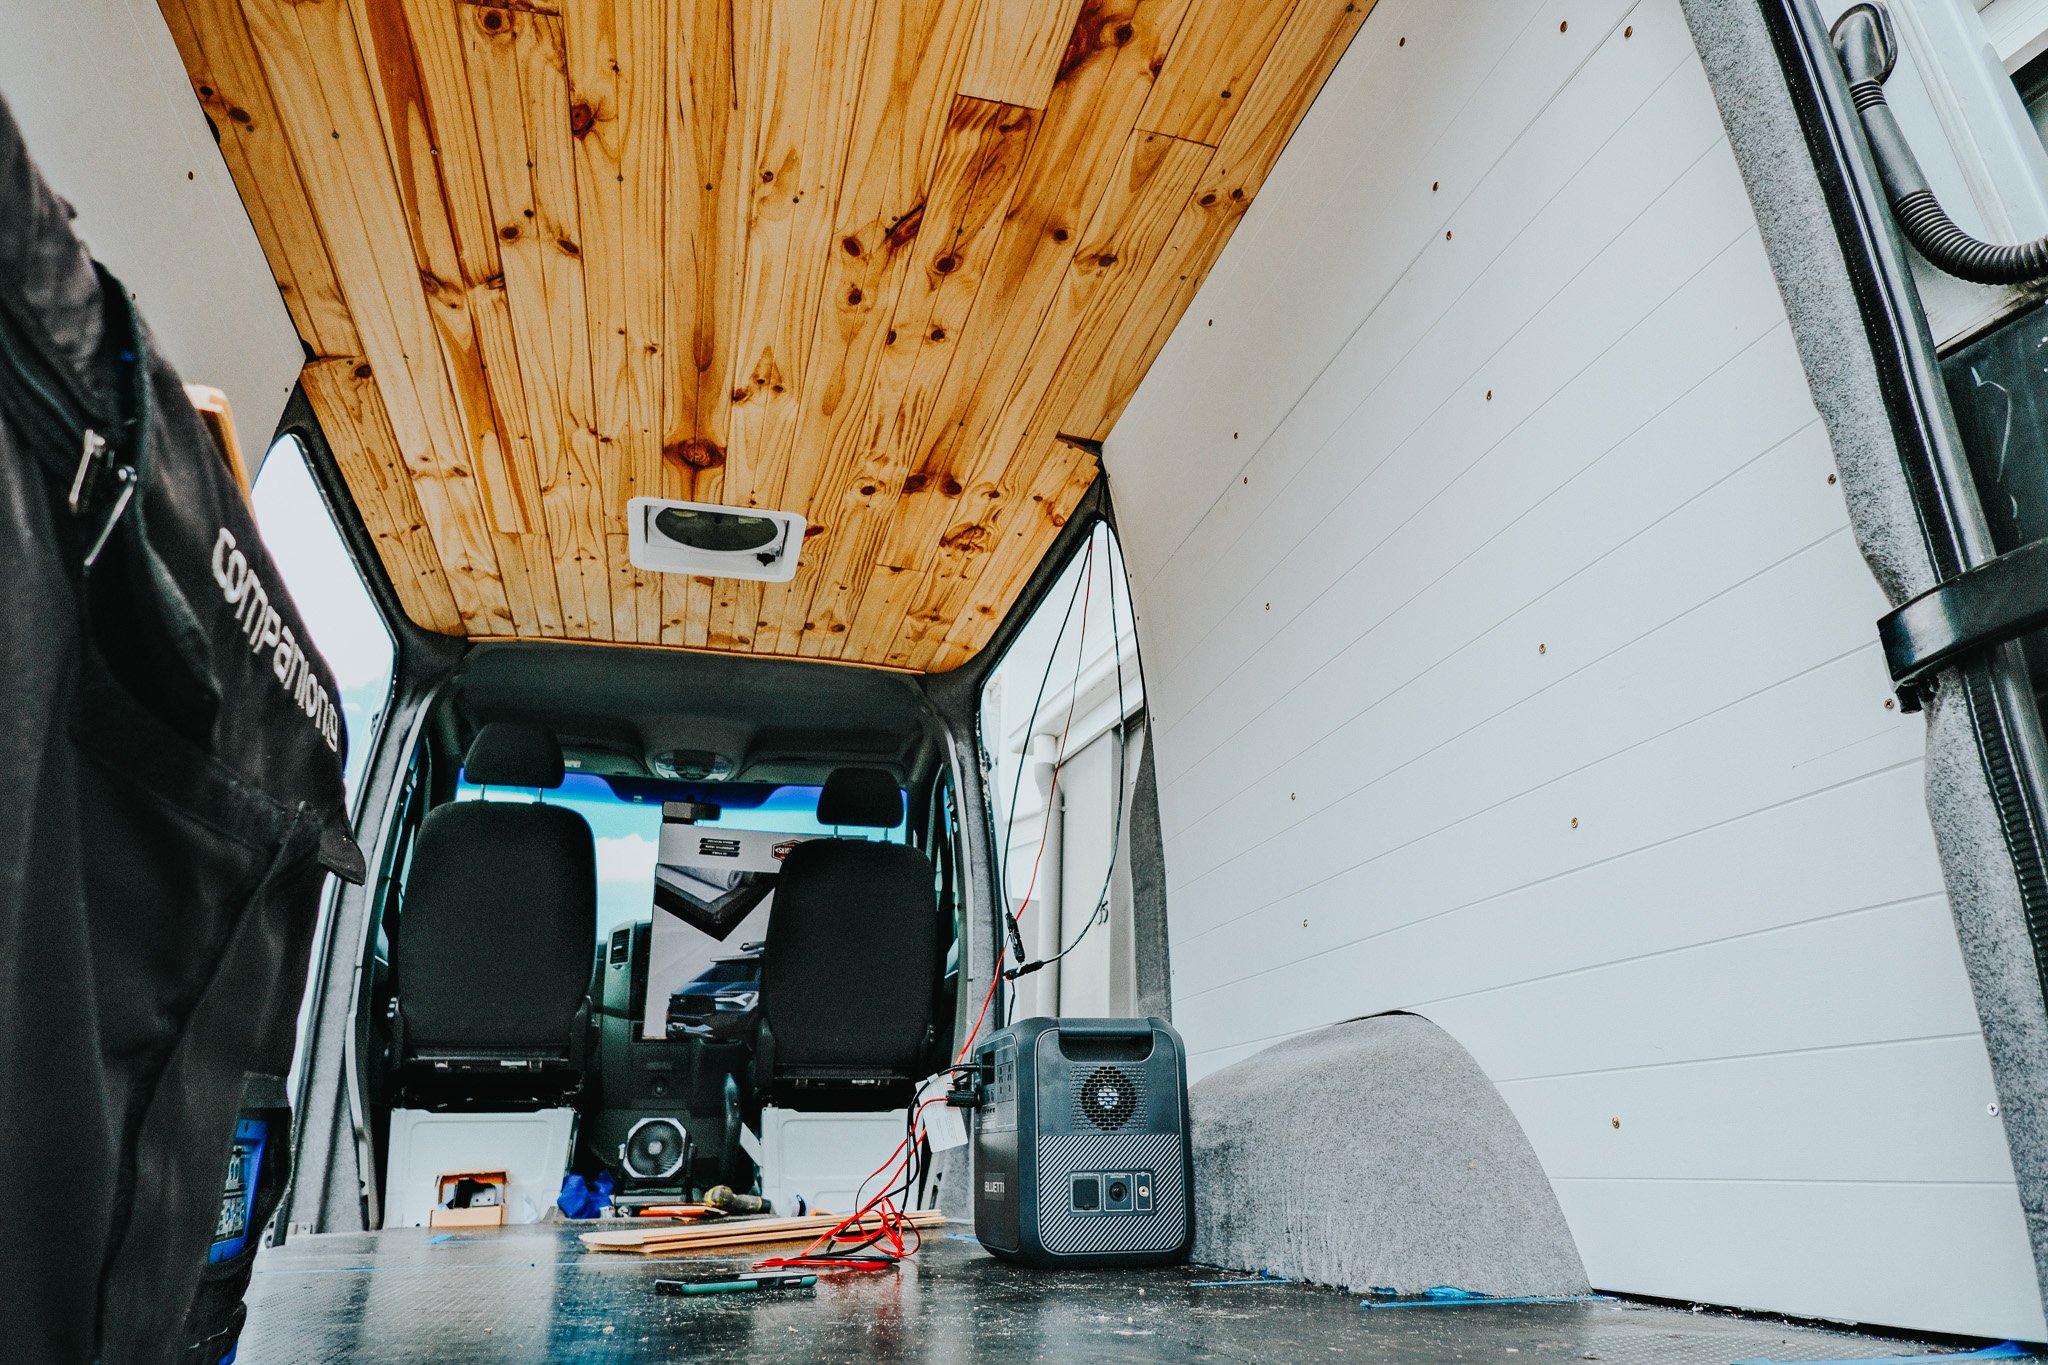
A couple of weeks into the build and things were progressing really well. Having finished the insulation and internal framing, it was time to start the ceiling and walls. We wanted something relatively aesthetic as we would be looking at itfor an entire year. We have always loved the timber look so we opted to go with a tongue & groove timber ceiling and side walls. The ceiling would be all individual pieces locked and screwed into place, whilst the walls would be pre-grooved plywood.
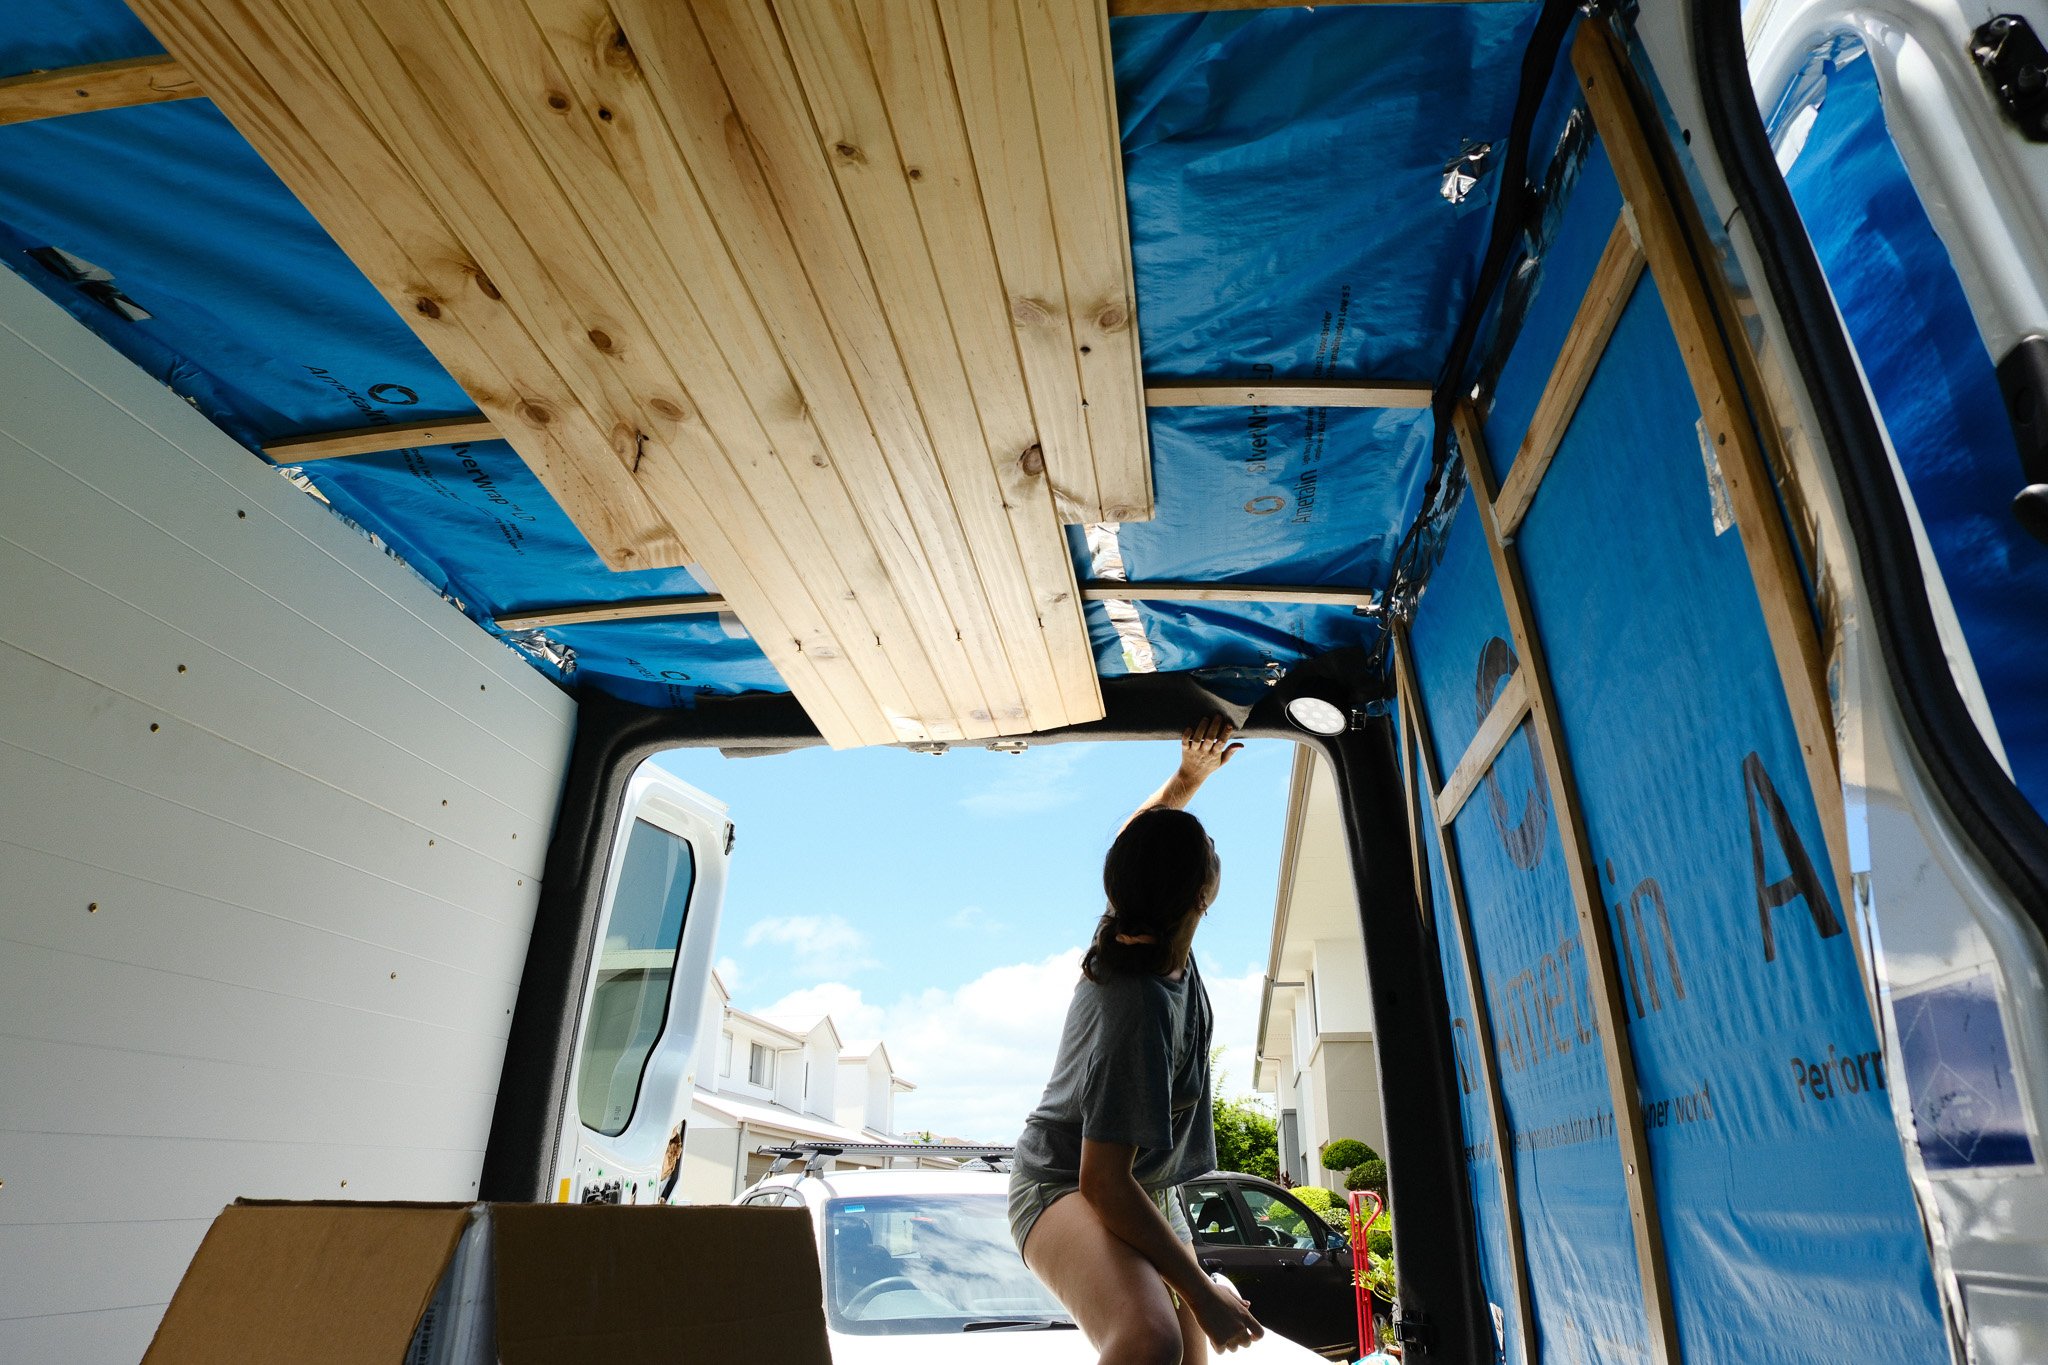
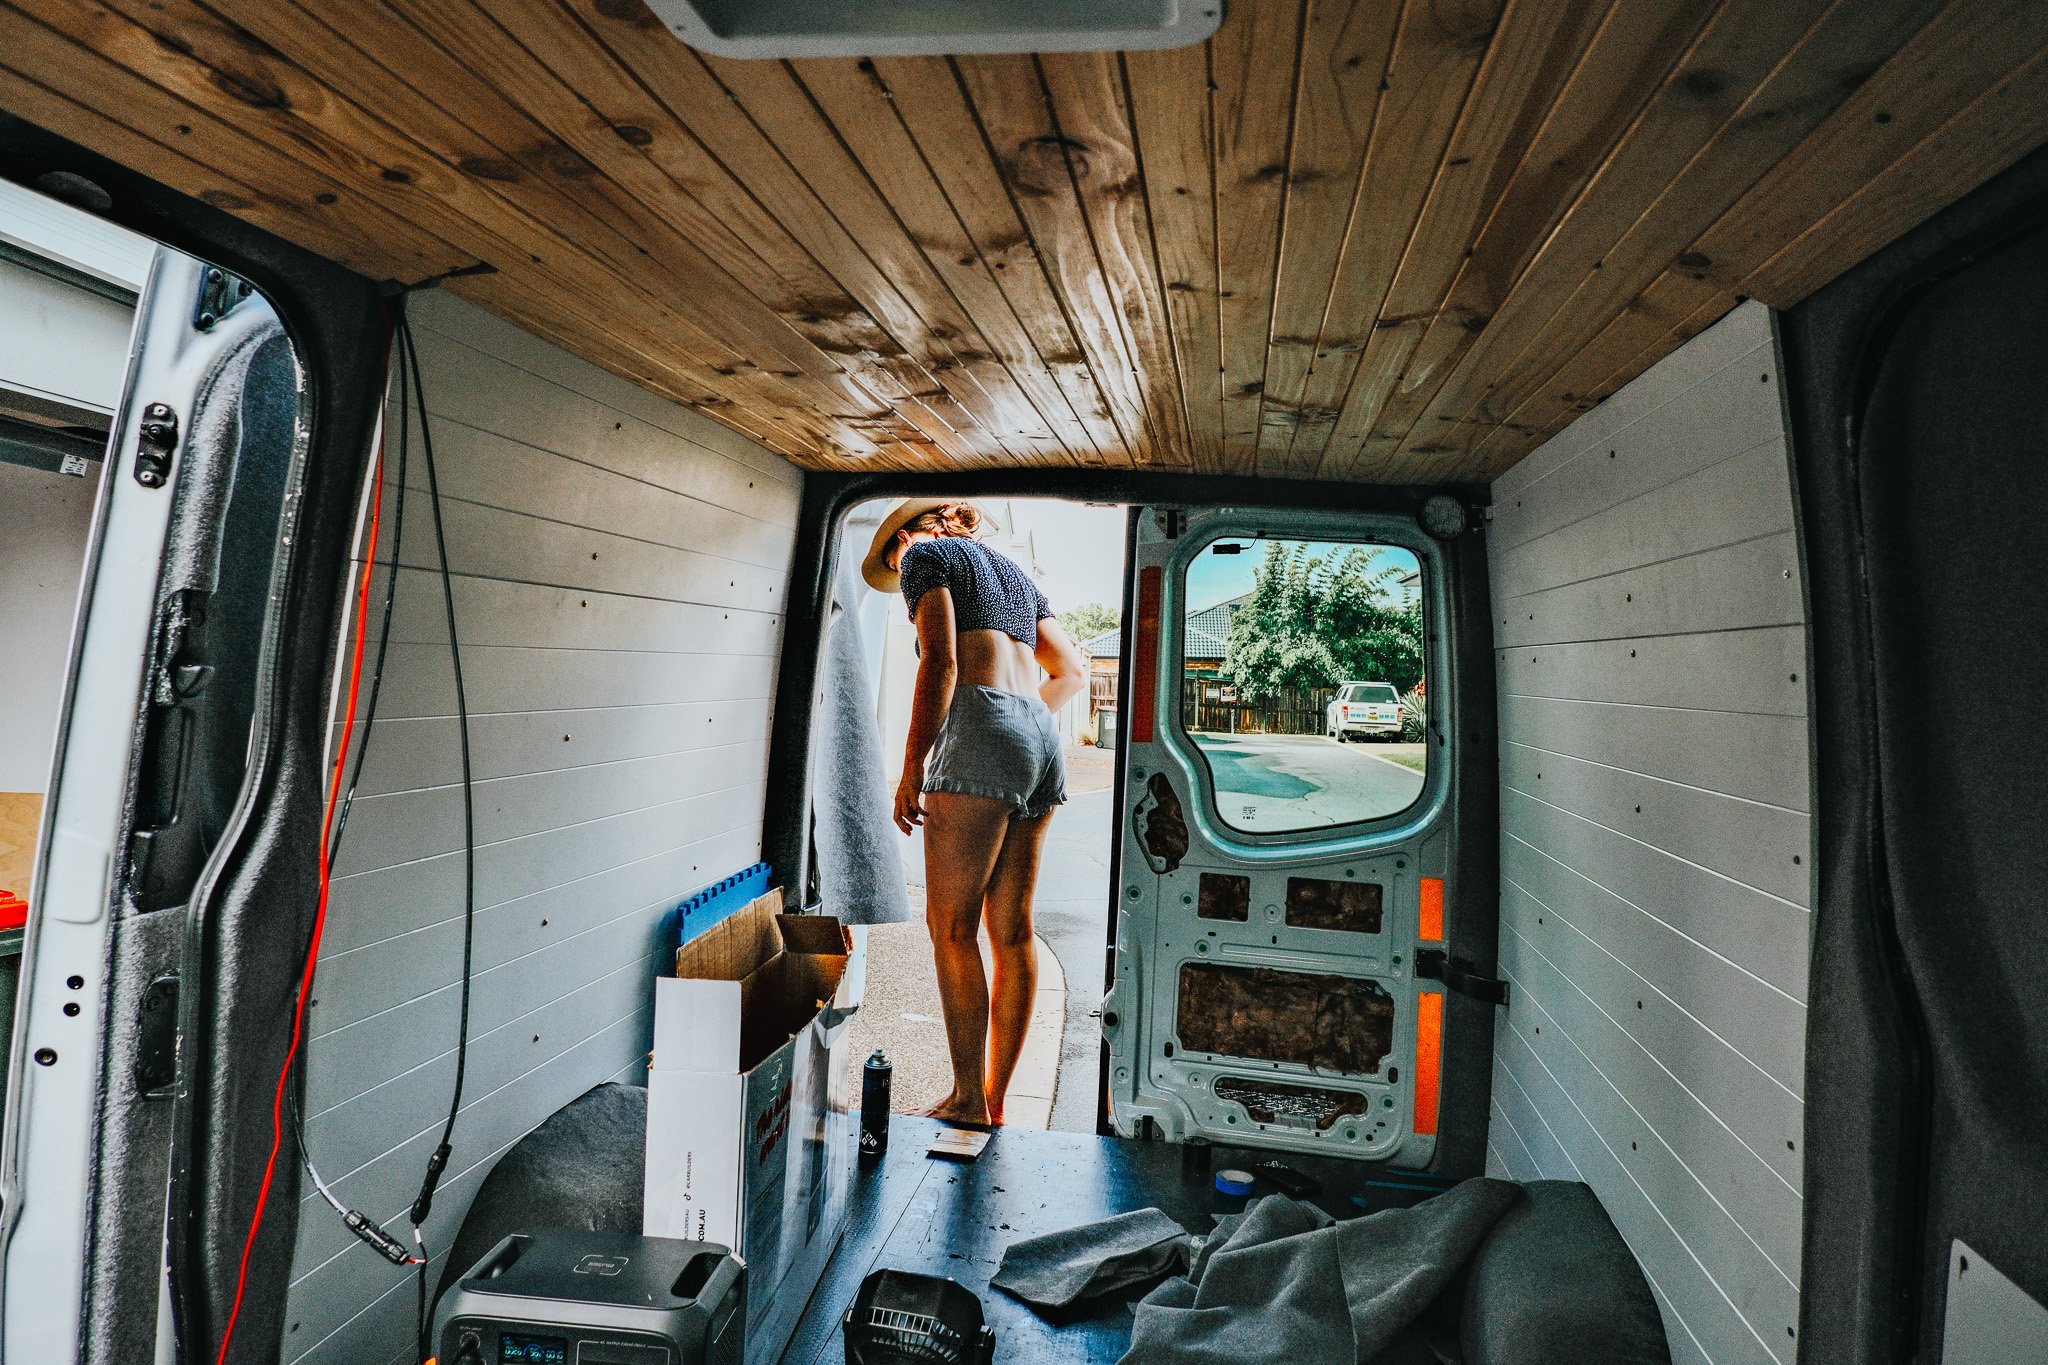
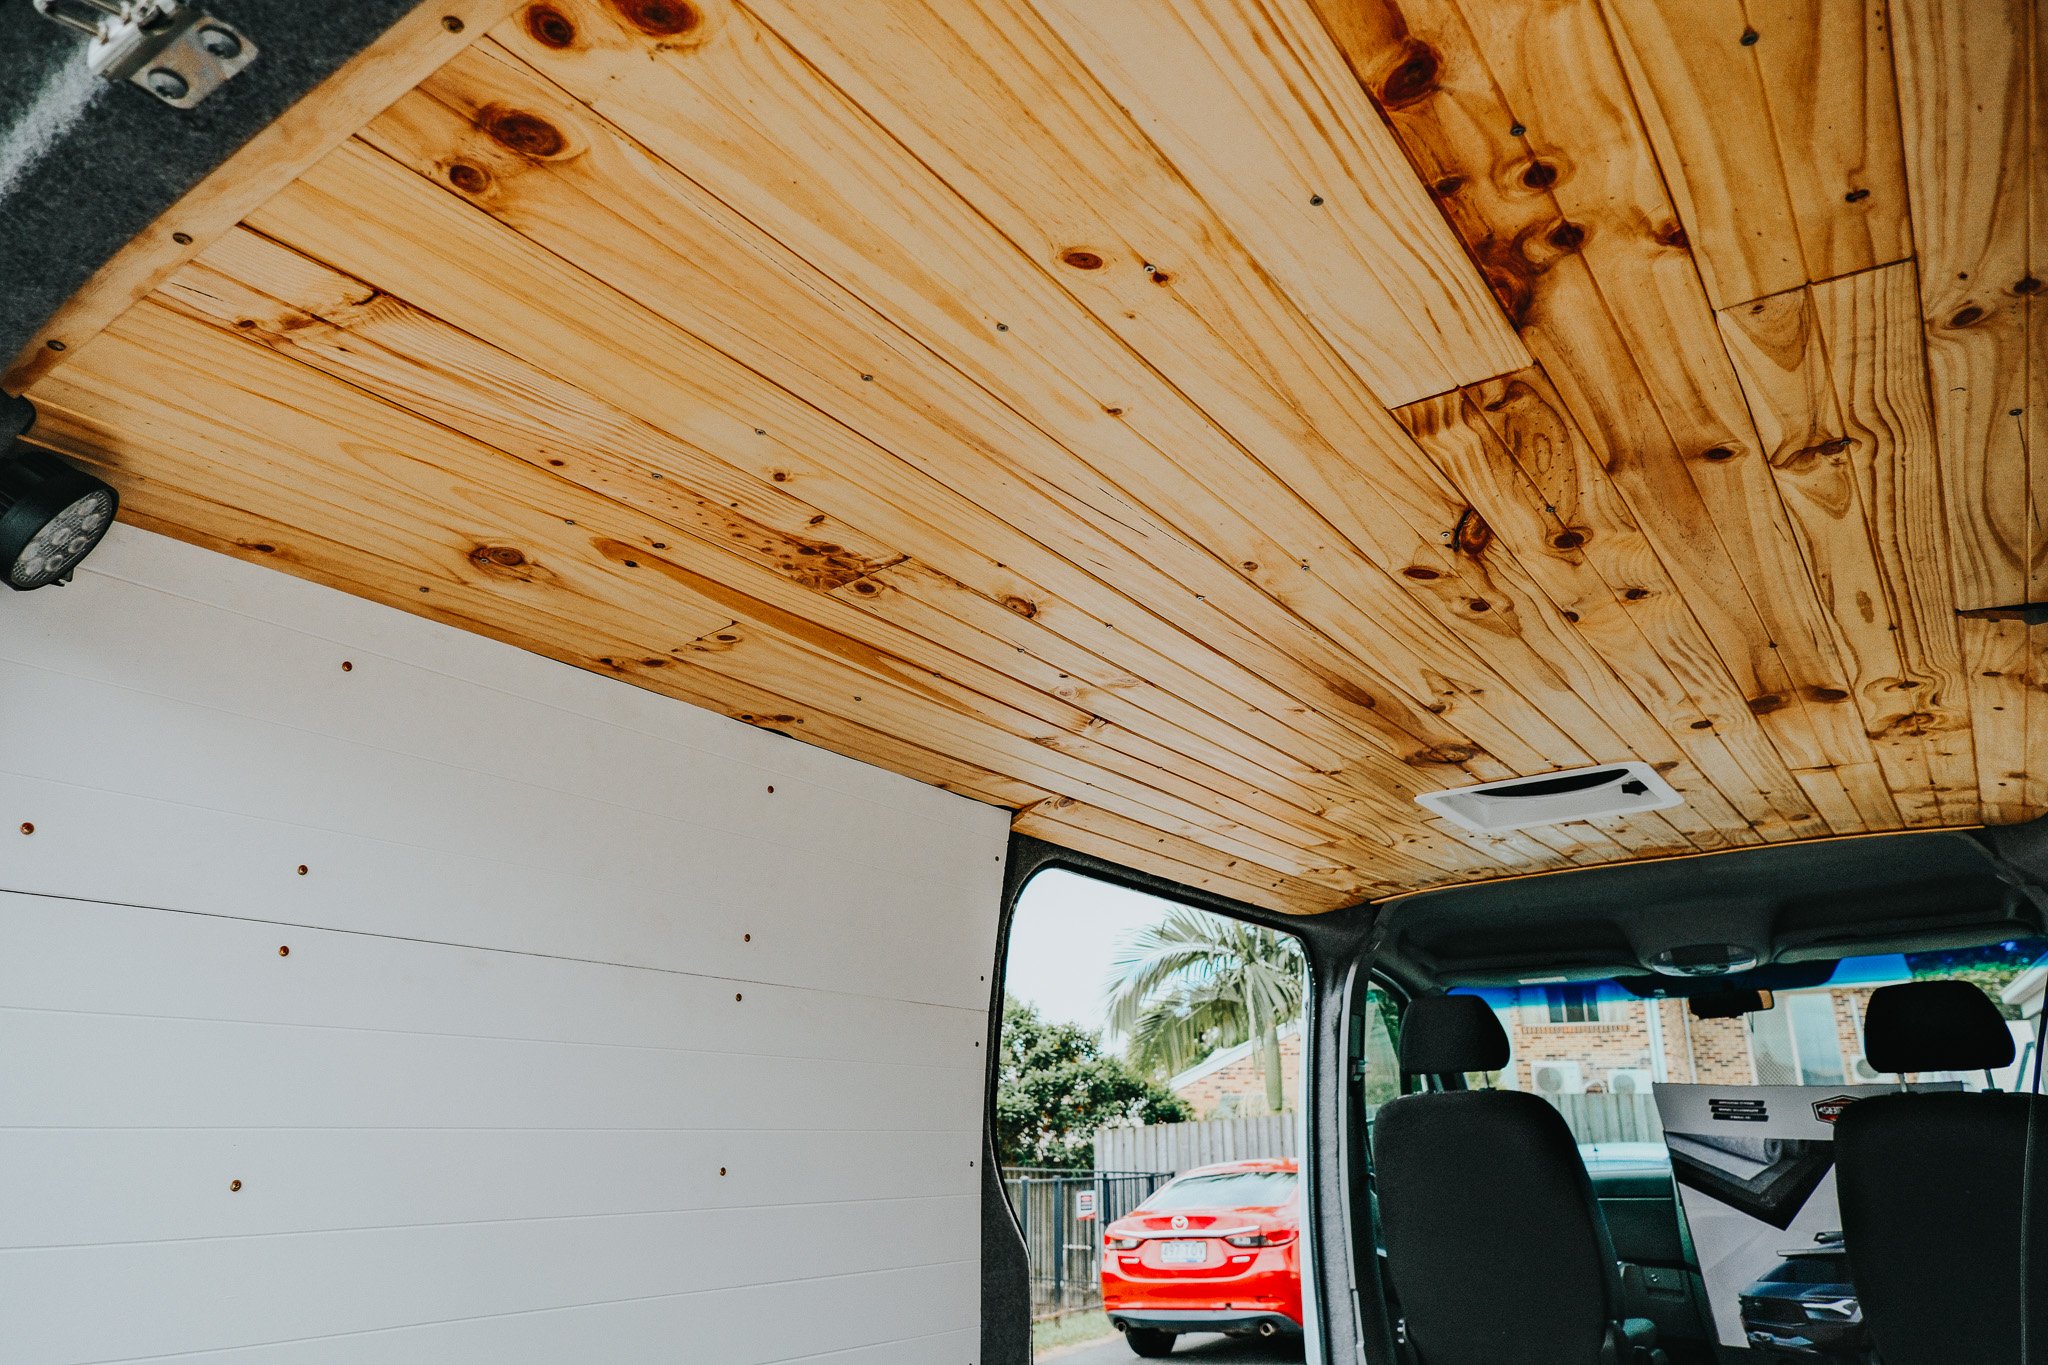
The walls were relatively straight forward to install. Cutting a couple of 9mm ply sheets into shape and iteratively cutting the curved edges for the rear of the van. These were then painted white and easily screwed into the frame I had constructed. What was a real pain was installing the ceiling. Cutting the lengths was straight forward but what we did not account for was the curvature of the van ceiling. The curved nature of the roof meant that slotting each piece to each other involved a series of heavy shoulders, leaving my body wrecked. This process was the most physical part of the entire build, but it probably made me appreciate the final product all the more (I unashamedly stood there admiring it for a while).
The remainder of the walls and ceiling edges that were way too complicated or intricate to panel with timber, we finished off with automotive carpet. This seemed a straight forward thing to do but once started we realised it was a much more precise and tedious process than the timber work, so Nicole took on that job and over a few days she covered every inch of remaining exposed space. The ceiling and walls were finally done!
Final layout
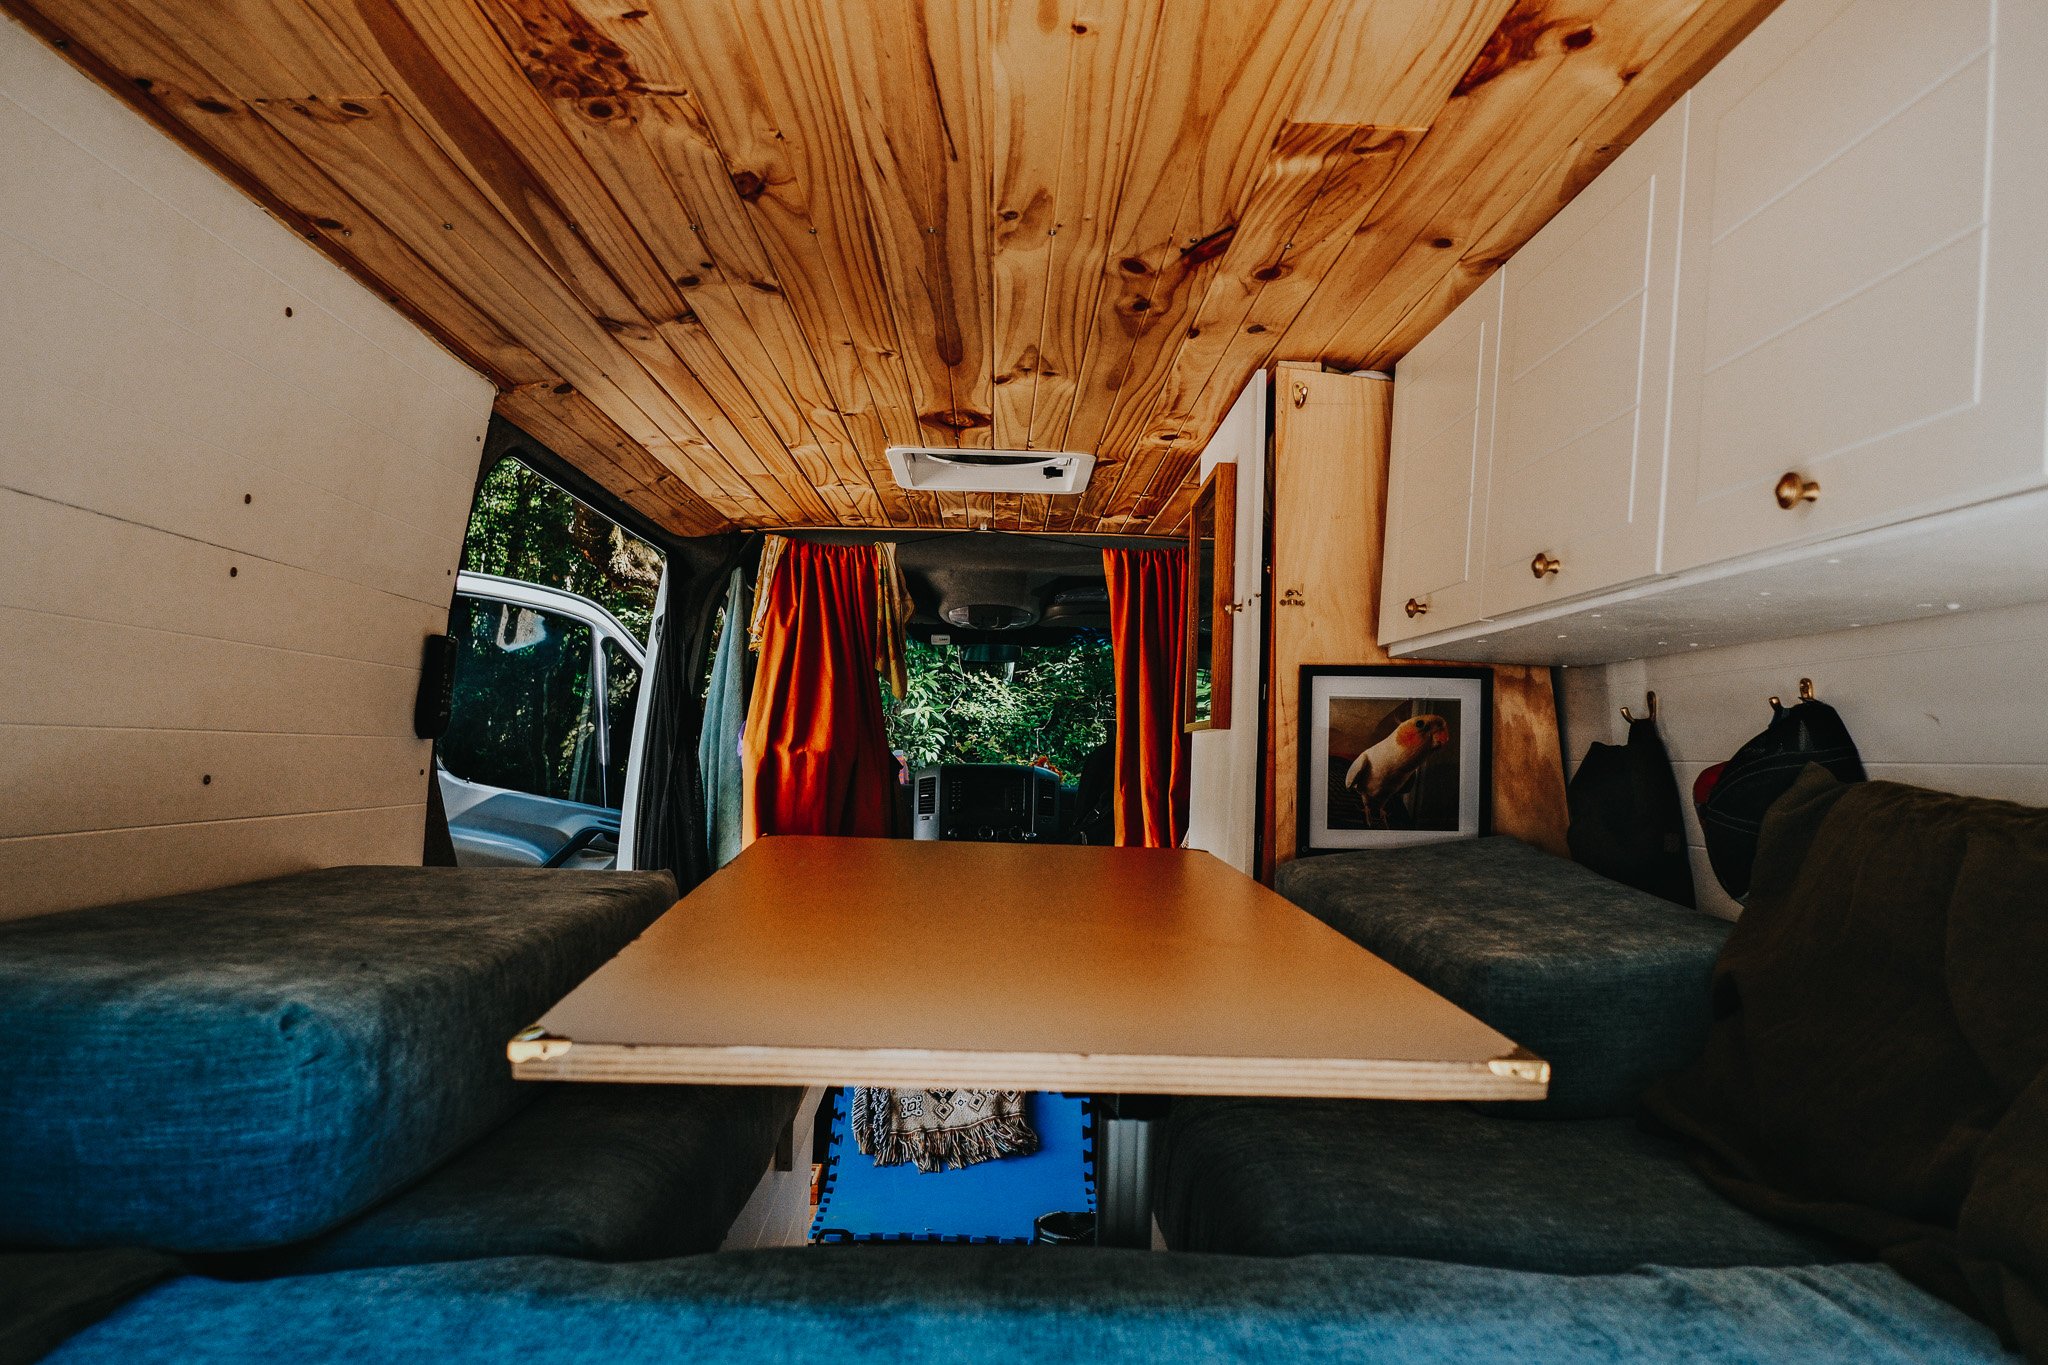
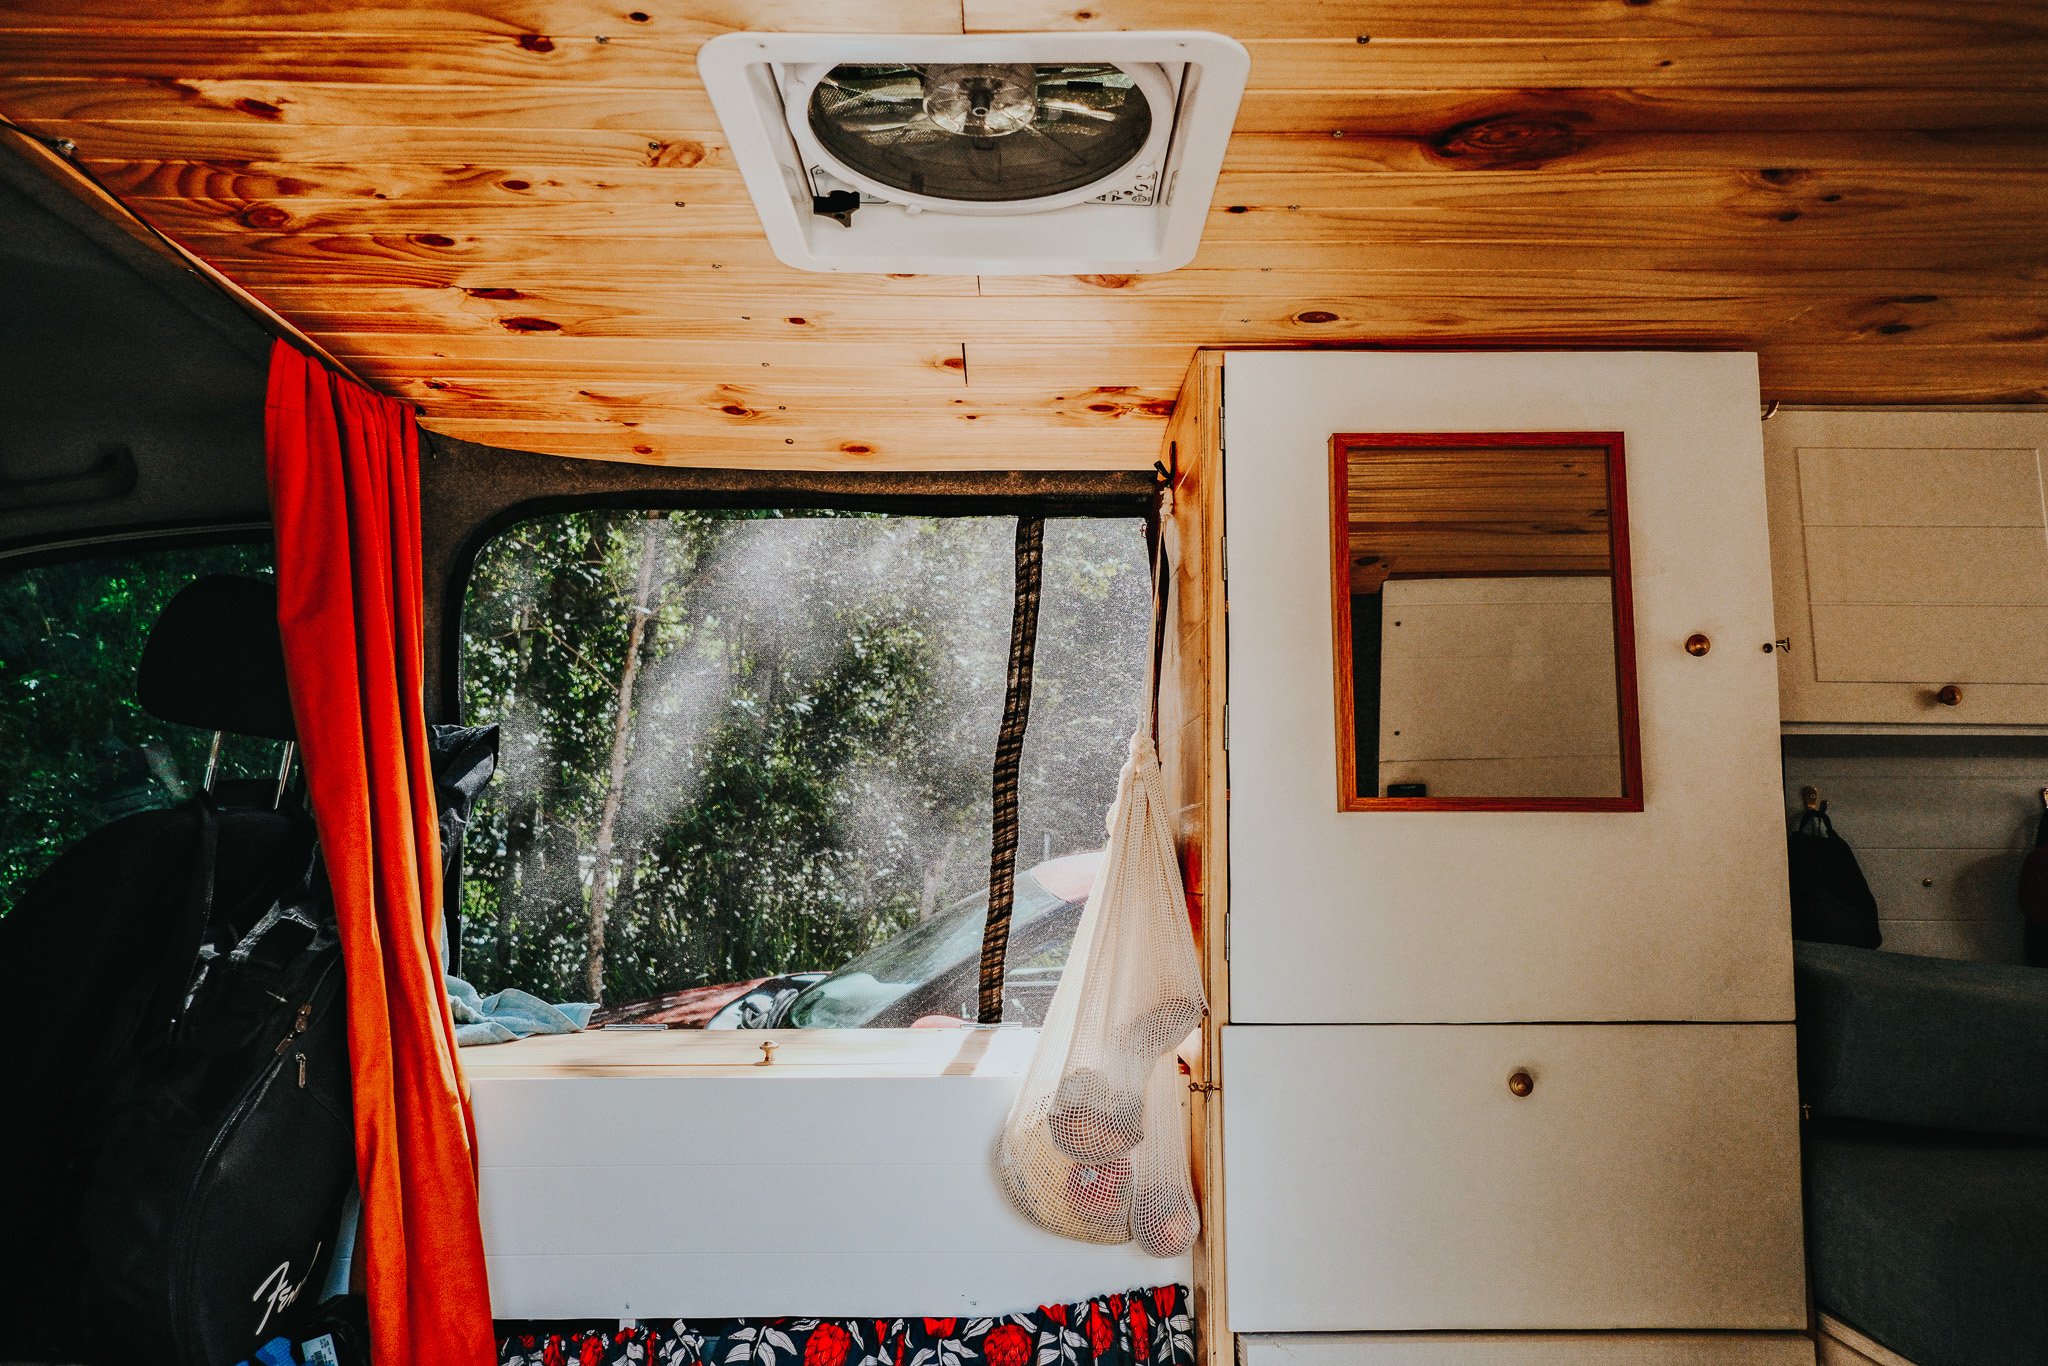
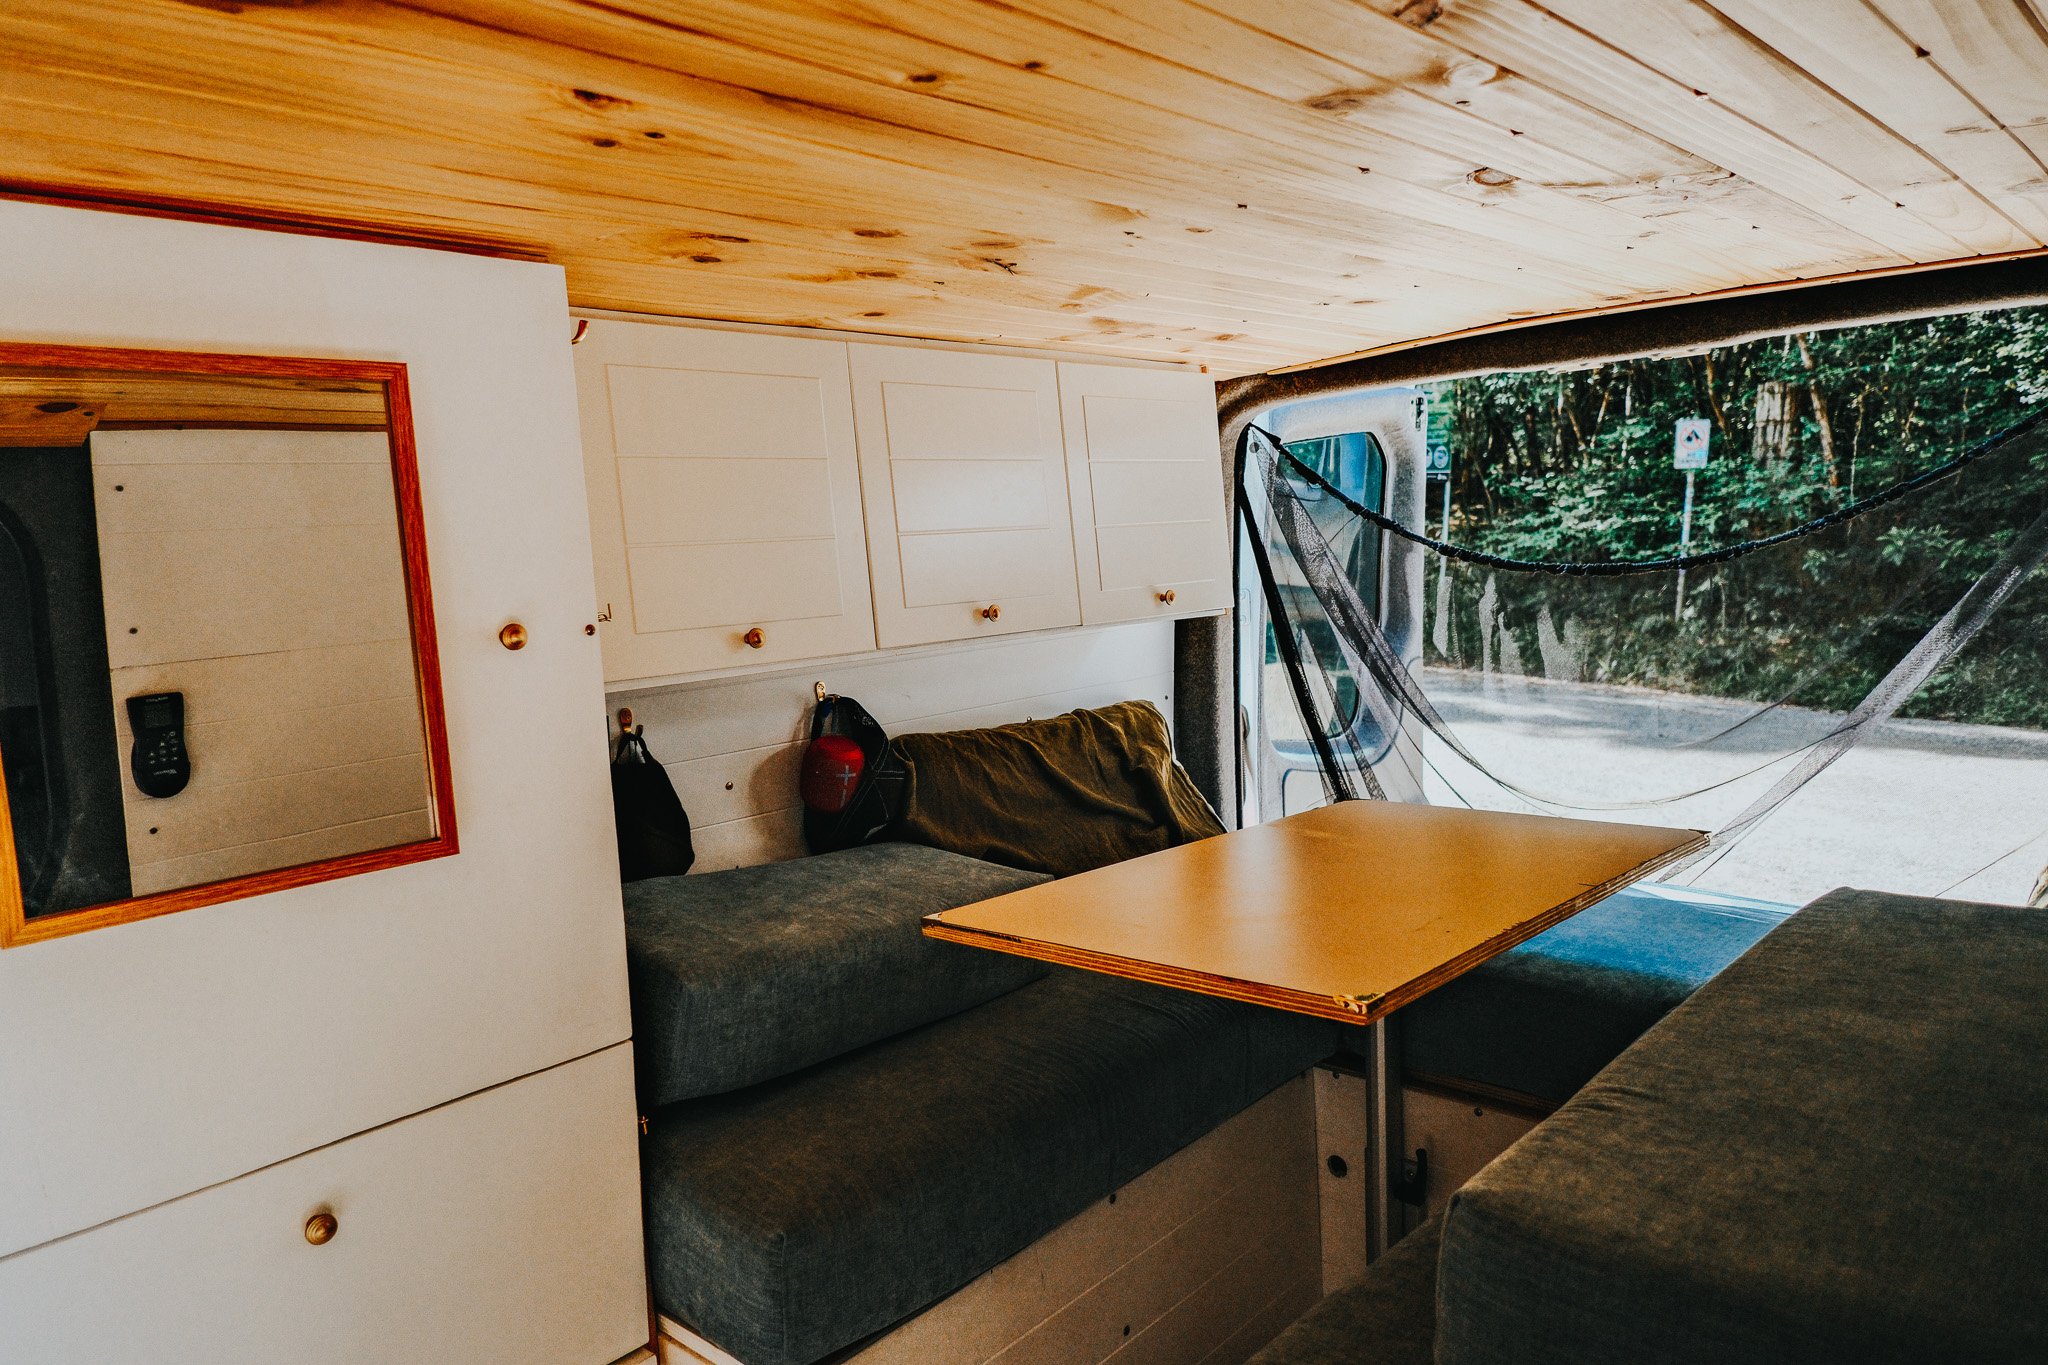
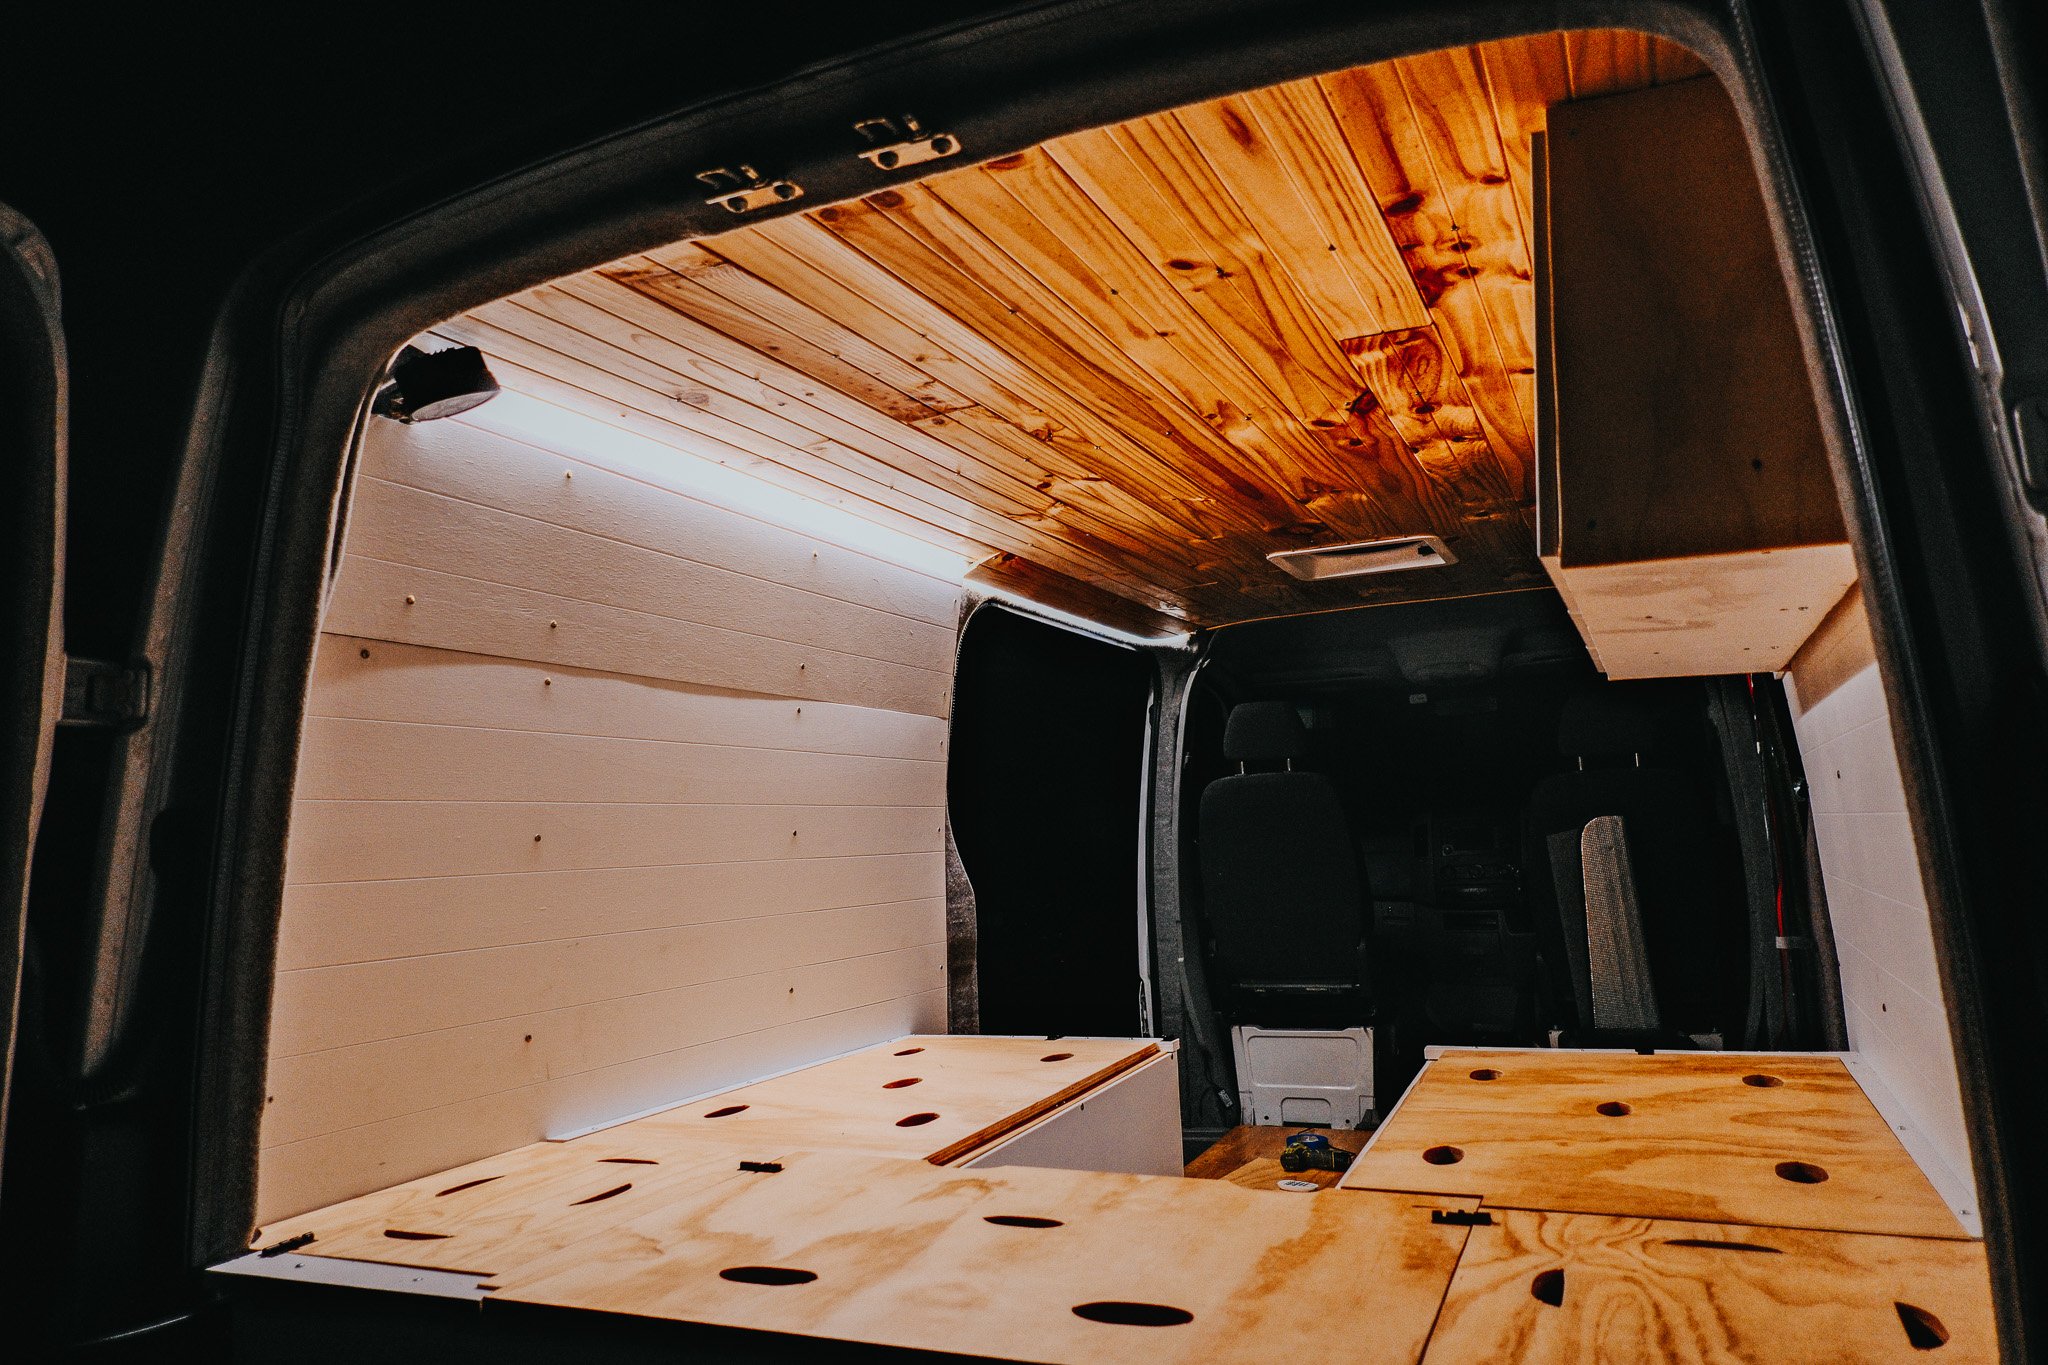
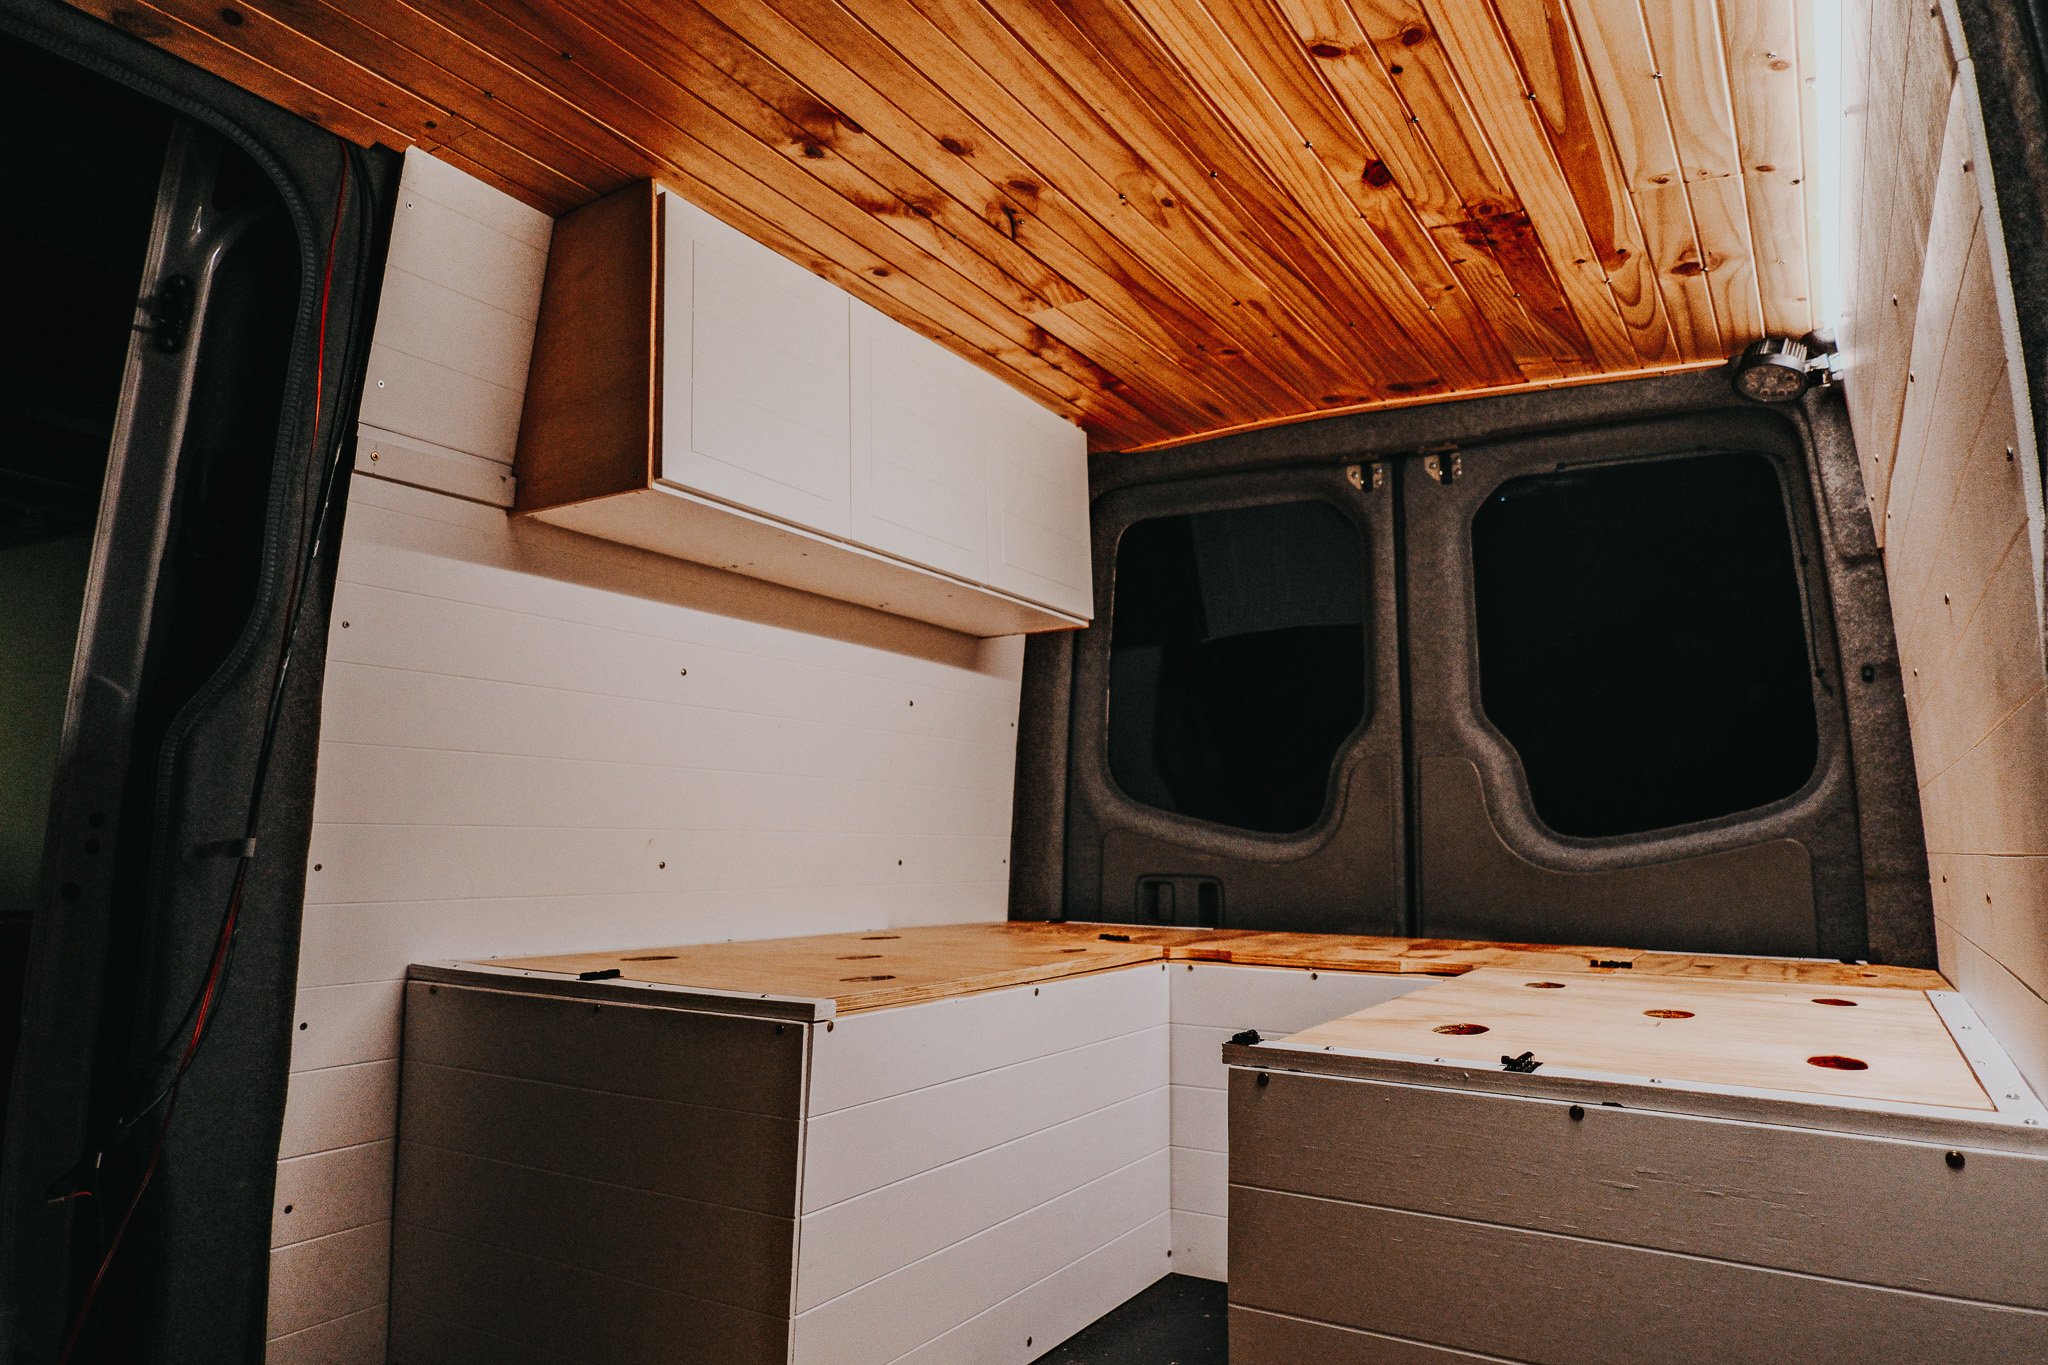
Finally, we could now begin building the actual van internals. After a few weeks of prepping and building the van, this was an exciting moment as we would now build the layout of the van and soon we would have our home on wheels ready for the adventure ahead. Taking a pretty straight forward design, we opted for a horse shoe shaped bed frame with the middle slot having a removable slat of wood that we could prop-up and convert the bed into a table/couch. The bed frame would be built high enough so that the underside could be utilised for storage, but not too high so that we could still sit on the bed without hitting our heads. Additionally, we would also build a storage tower and overhead cupboards to store linen, clothes, cutlery, battery and pantry. We realised we would also have enough space to block off one of the side doors with a bar/chest storage and just keeping the upper part open so we could still open the door and use as a window. Finally, we would install some foldable passenger seats so that we could take friends around and not be limited to being a 2 person vehicle. The seats would be the only items we got professionally done (due to safety and legal requirements).
Internal build & Push to the end
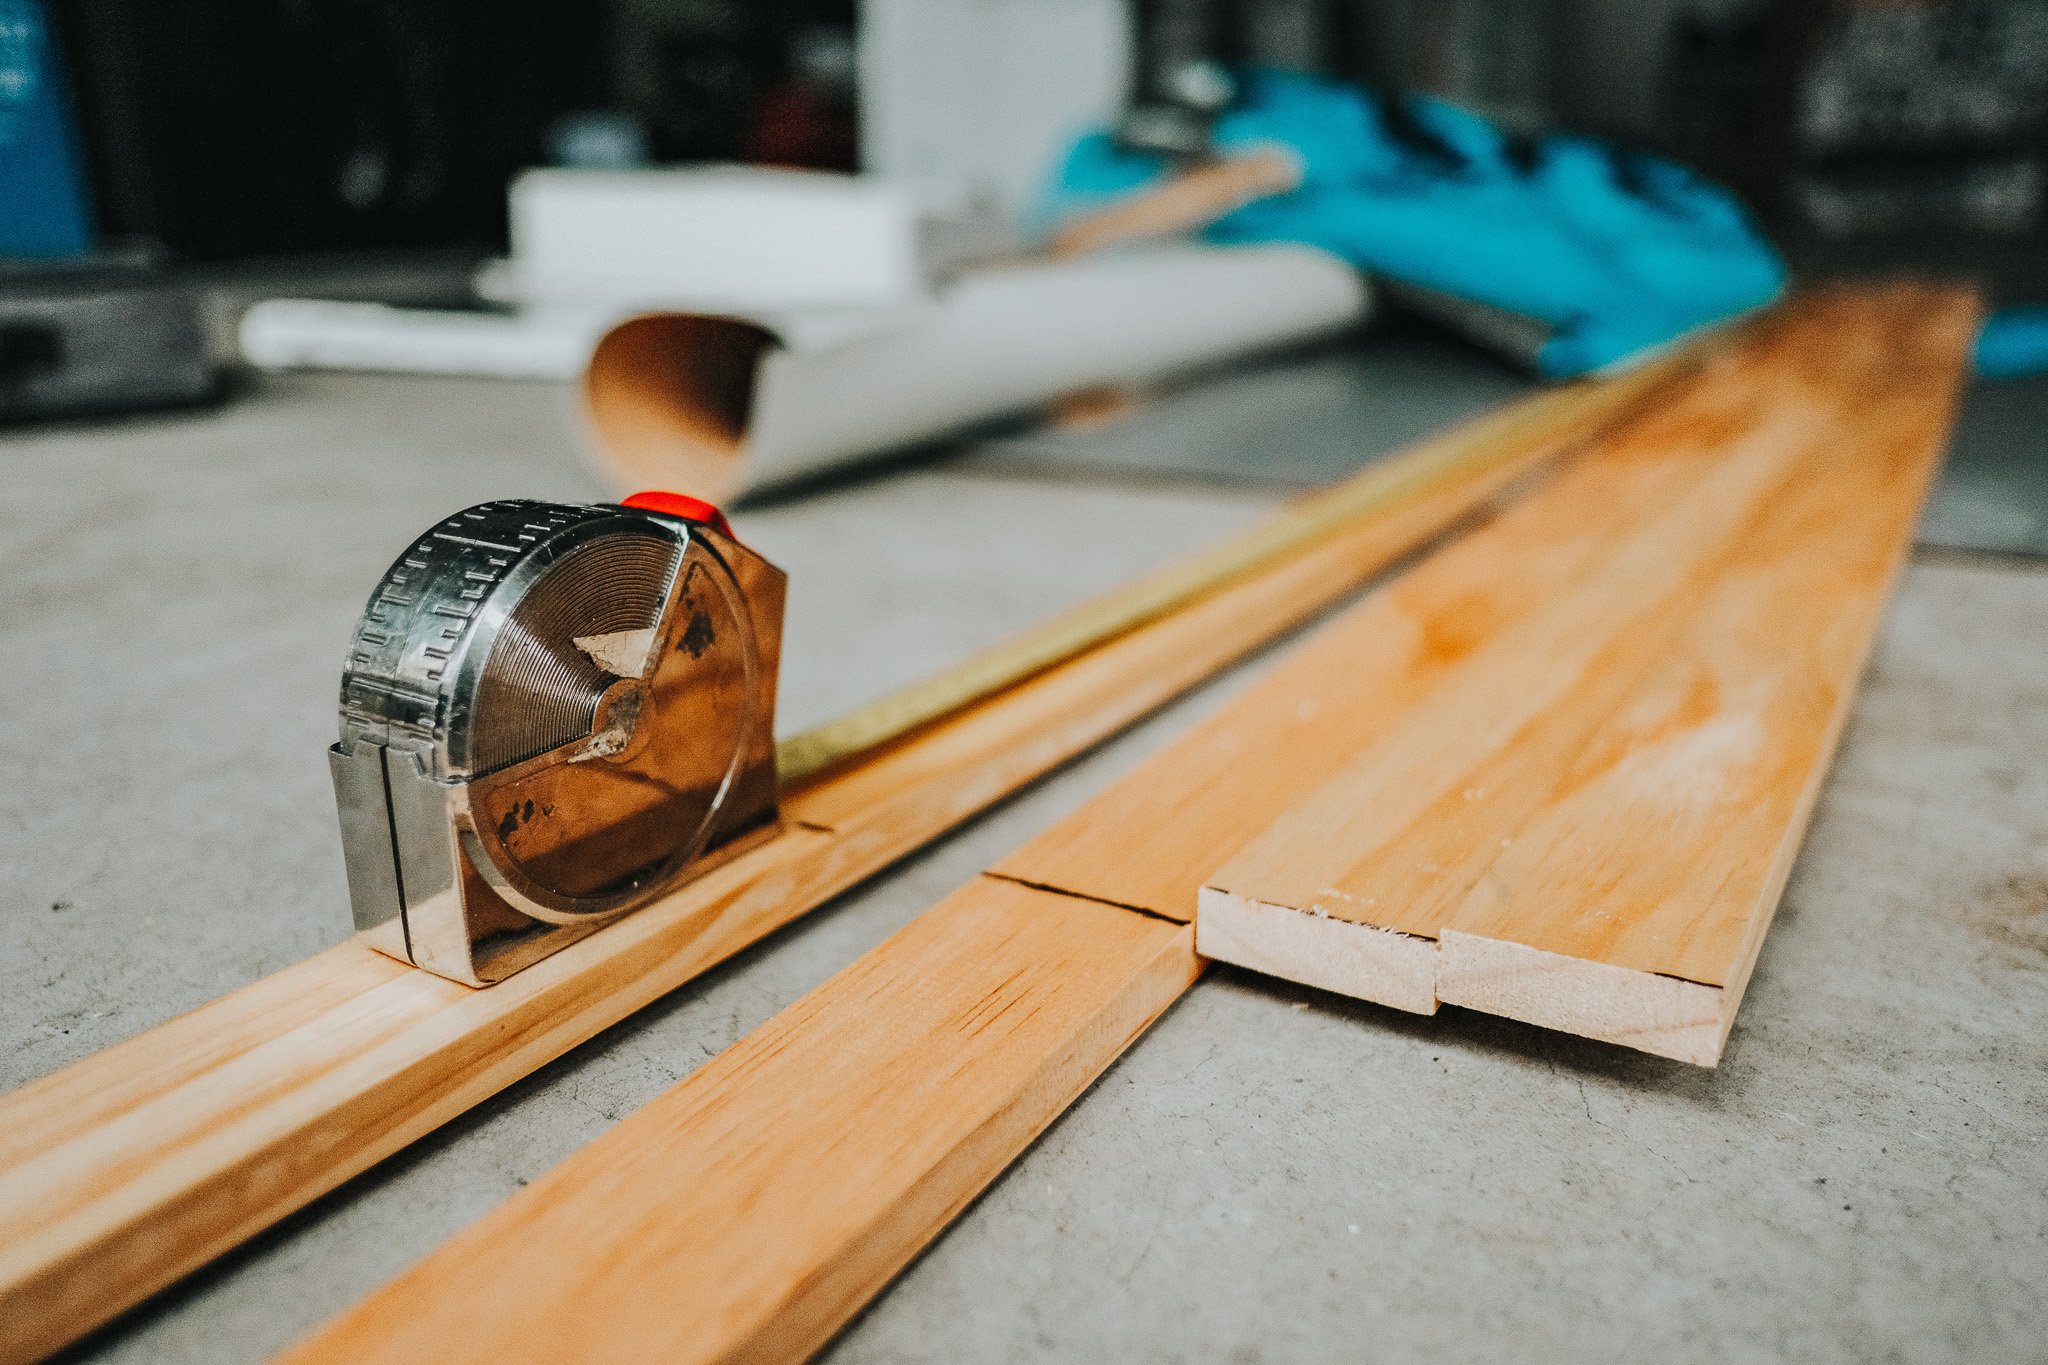
I don't want to go into full details of this part of the build as that would be overkill, but it took me a lot longer than I expected. Each time I would estimate a section of it would take me a day to complete but the reality would be an extra half to full day more. Each section I would tackle individually, figuring out the best dimensions and structural layout. I started with the bed frame first as this was the simplest section and the must have part we needed, then proceeded with the tower and finally the side chest. The following weeks were a non-stop slog of measuring, cutting wood, drilling, re-cutting, drilling and painting. Nothing was too difficult in this phase but it was long and tiring.
The final push also involved finishing a lot of the finer details that really made the van a home. These were things like cutting up and upholstering the bed, installing hinges & handles, sewing the curtains & shades. These things all added up and took a lot of time and effort in themselves.
Honestly by the end of it, the excitement of the build quickly turned into a little bit of contempt and just wanting it to be over by the final week. We knew this would be part of the process thought and in the end though it all came together. Everything worked and importantly we were really happy with how it turned out.

A labour of love & frustration
I am sure that anyone who has ever built something themselves would appreciate the joy and satisfaction of their work, seeing it go from nothing to something that will hopefully be used in the adventures ahead. What they would also appreciate is the fact that it is a bloody difficult process and the journey has many ups and downs. This is the part that they don't show in those Instagram videos, which always make the build look so neat and straight-forward and everyone is all smiles. Long days and nights, fixing mistakes, countless trips to bunnings, the physical strain on the body and just the overall fatigue of it all is part of the reality. It is all consuming, both in the positive and negative way.
Looking back at it all, I would absolutely go down the self-build path again. Difficult at times, but it was more fun and rewarding than it wasn't. A future build would be approached differently, learning from this experience. Other than giving ourselves more time (maybe 6 months instead of 6 weeks), a better work set-up with a dedicated working space and the correct tools would have improved the experience. The right set-up I think goes a long way, both for the ease of process and quality.
The main thing however I would take from it all is that it can 100% be done if f we are open to learn new things and not worry about perfection. Sure, we will make a lot of mistakes but if we are accepting of the process we can surprise ourselves in the end. This was a learning experience for us and I think we will be better off for it. In saying that, we are happy to put the drill down for a while and take our new home out on the road.